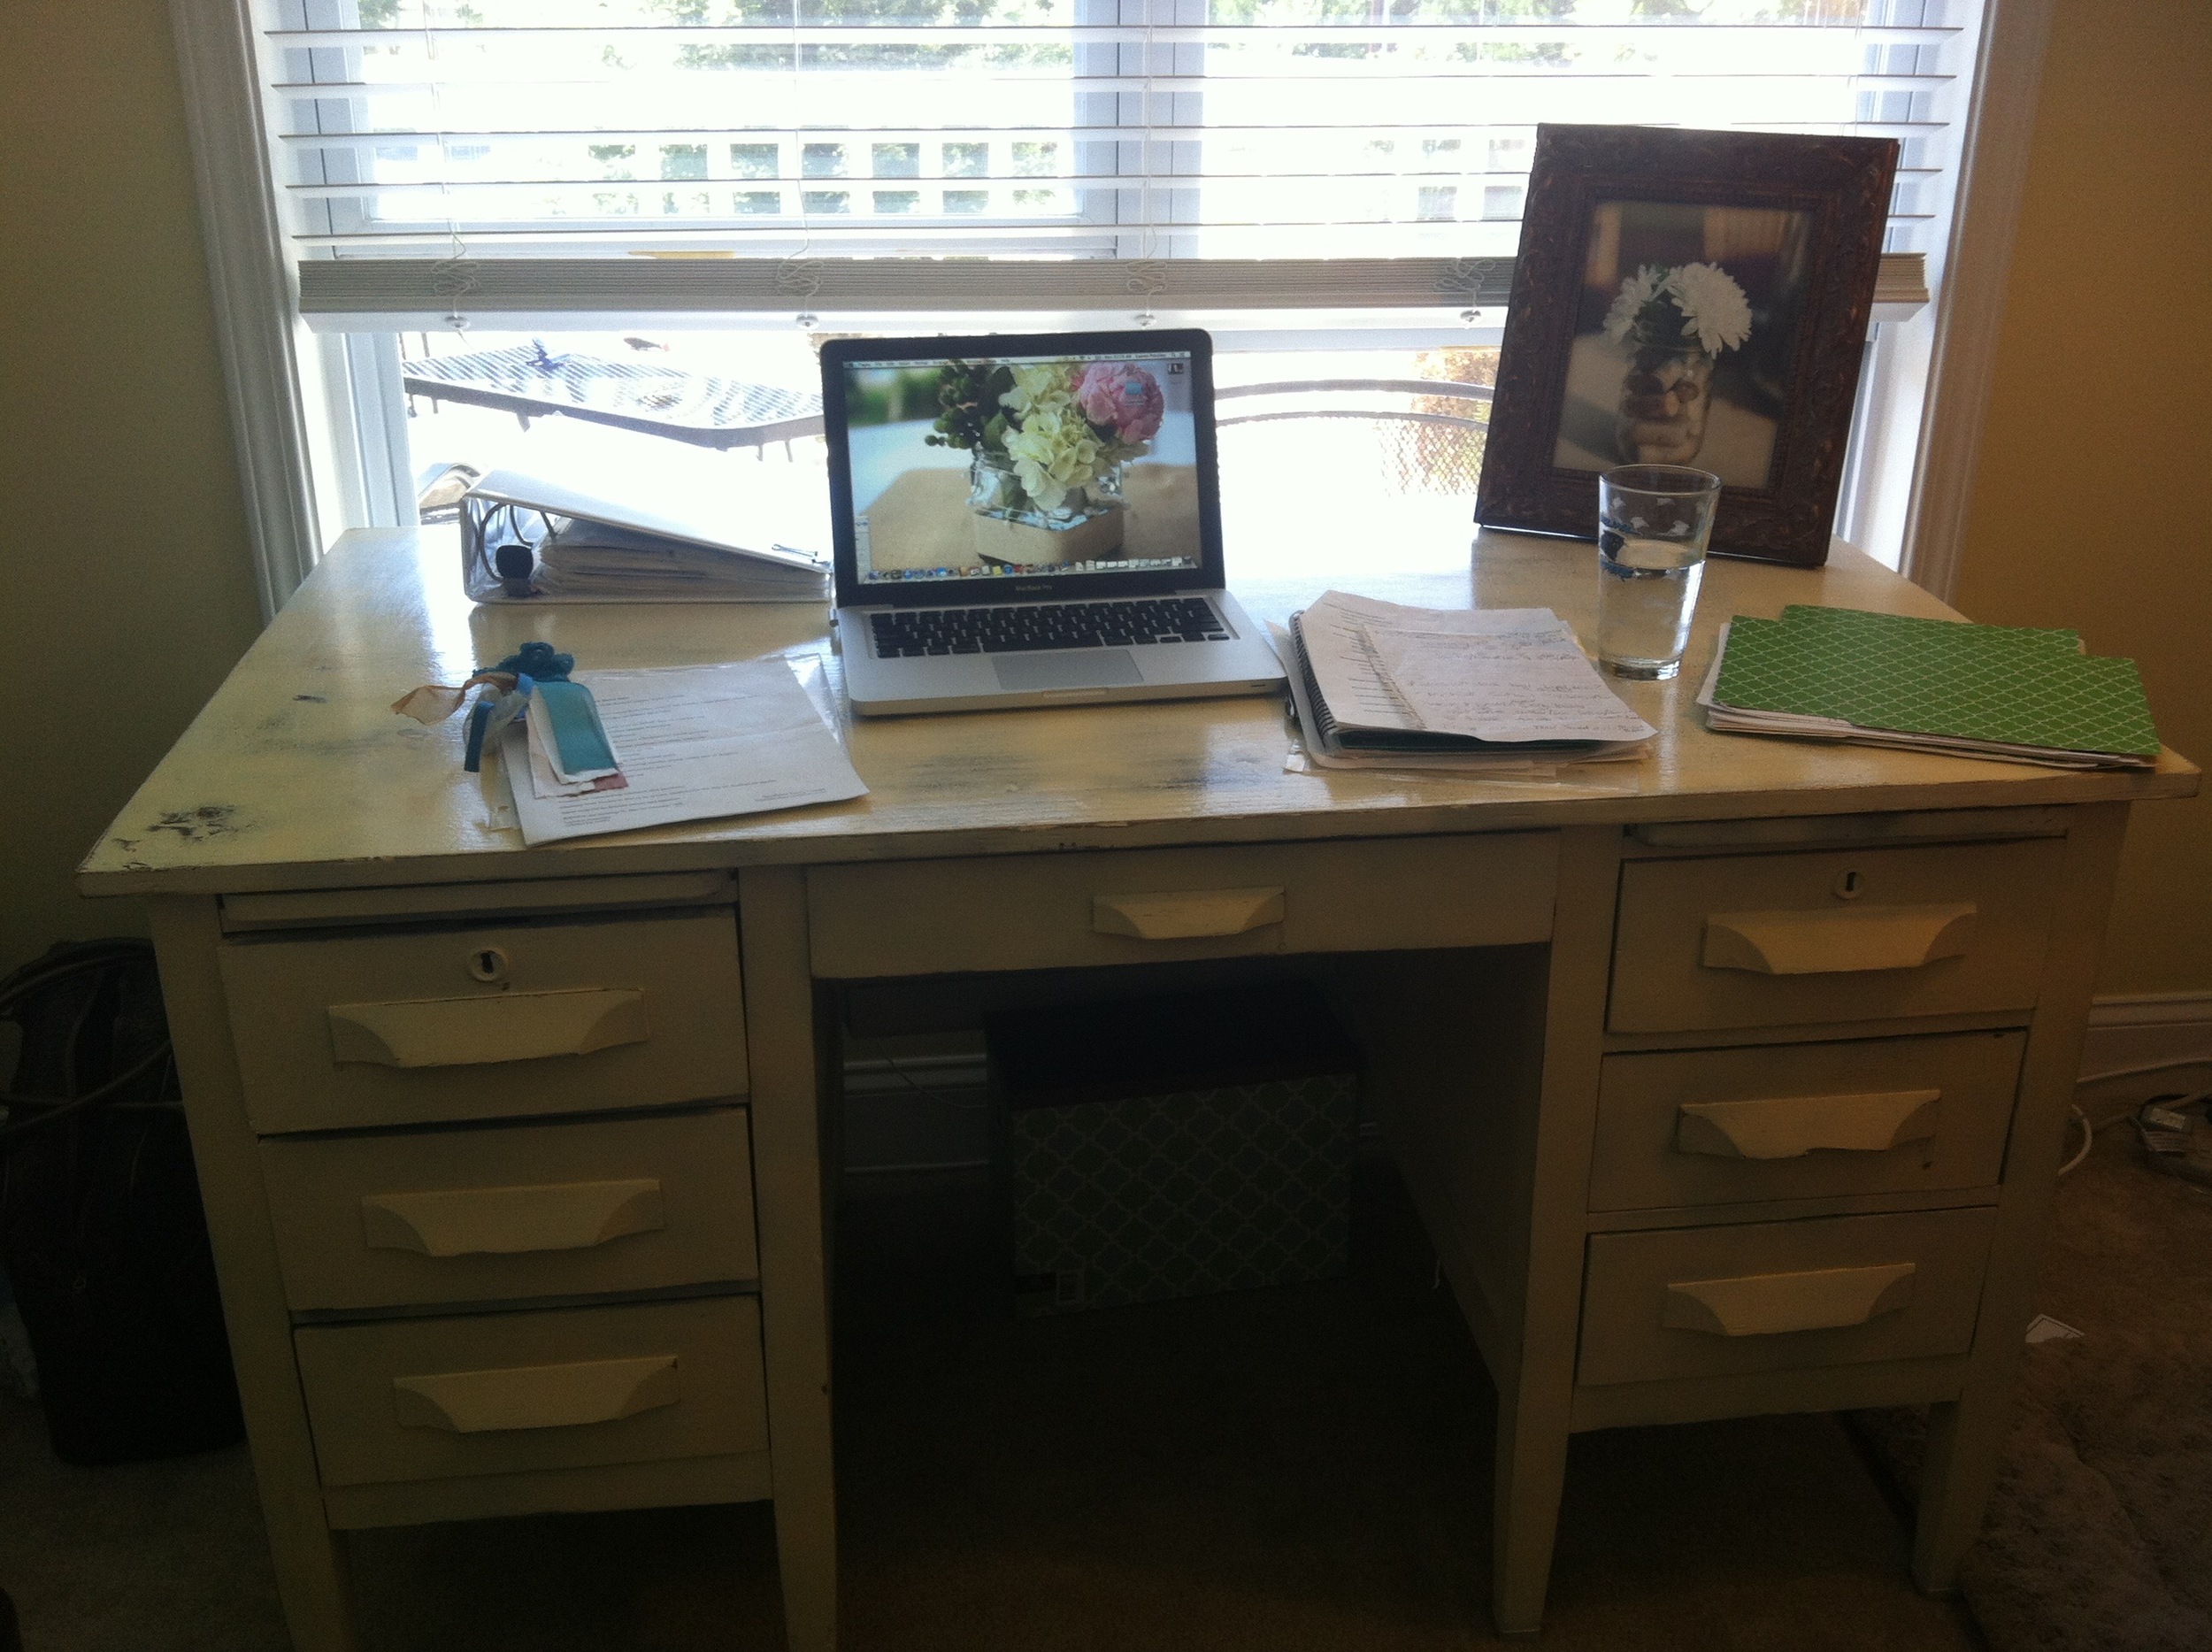
DIY Distressed Desk
I think by now it's safe to say everyone knows that I LOVE a good DIY (and recipe...but that's another post!). I've been needing a new desk for a while, so a few weeks ago I decided to get out and find one. Before even leaving the house I decided I wanted to find something that I could take and completely turn into my own. Hello distressed, shabby chic! I got super lucky when I walked into Habitat for Humanity and found exactly what I was looking for!
I started out by sanding it down with fine sandpaper (220 worked for me), and then covering it with a primer. FYI-be careful with primer...it doesn't come out of your hair like regular paint. I walked around with a few white streaks in my hair for about 2 weeks. Fun times!
Since I wanted my desk to be a light color with dark underneath I chose dark brown for the first coat and then Hotel Vanilla for my topcoat (main color). After the primer dried I went over it with the dark paint (you can use spray paint for this...I did go through about 3 cans).
Because the weather was soon humid and rainy I gave this coat about 2-3 days to fully dry before going over it. Once it was dry I took my white spray paint (Hotel Vanilla) and covered the dark brown paint. I did give it 2 coats, even though I ended up sanding down through some of the white, I wanted the part that wasn't distressed to have a rich color (almost 6 cans).
Now came the fun part. SANDING. I completely underestimated this. COMPLETELY. I suggest having rough sandpaper. I spent a few hours on this part...and felt like I got a better upper body workout than I could have at the gym.
FYI - I'm having the chair in the background re-upholstered with a navy/light blue chevron fabric! : )
After sanding it down to bring out the dark brown, I added some shellac. Just had to let that dry and I now have my finished product!


